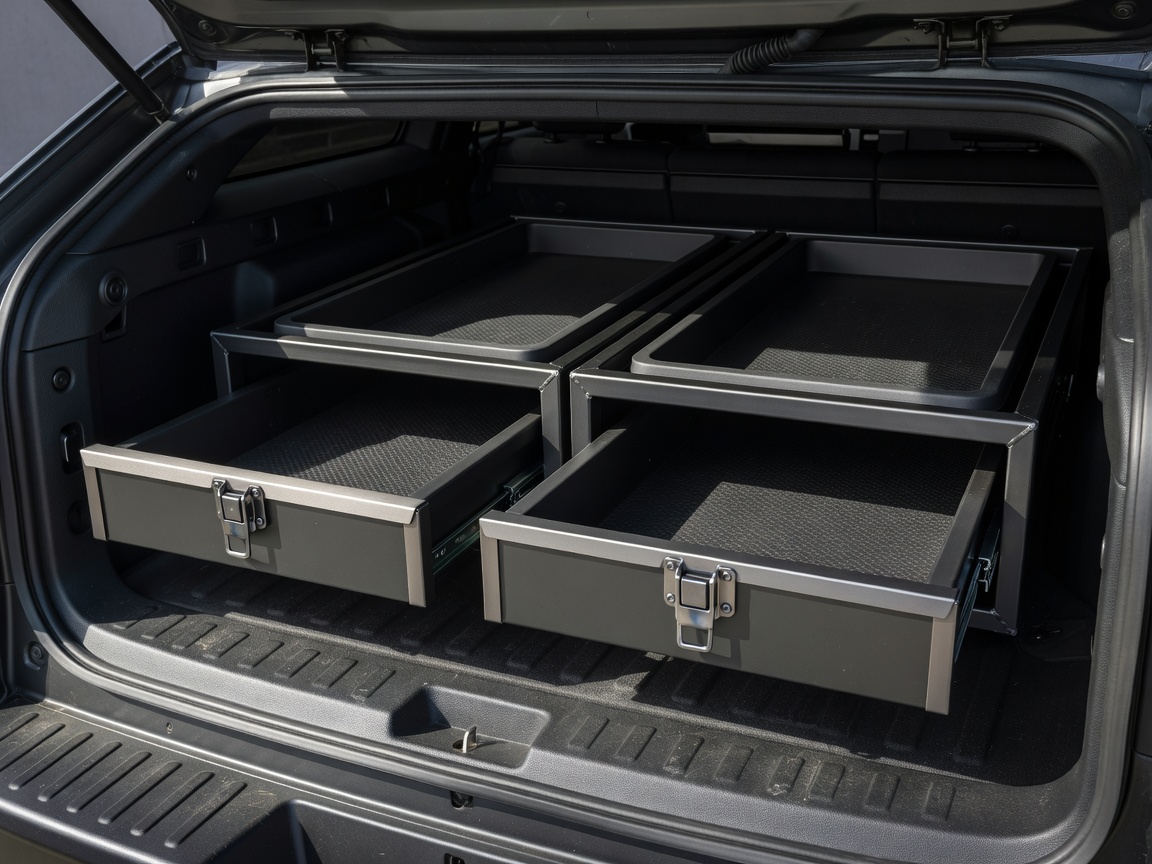
Drawer systems
Lockable slides, lever latches and rubber liners. Keep the heaviest drawer nearest the axle.
A conversion is a set of systems sharing one payload and one chassis. Start with what the vehicle can legally carry and how you will actually live in it, then fit the furniture around that.
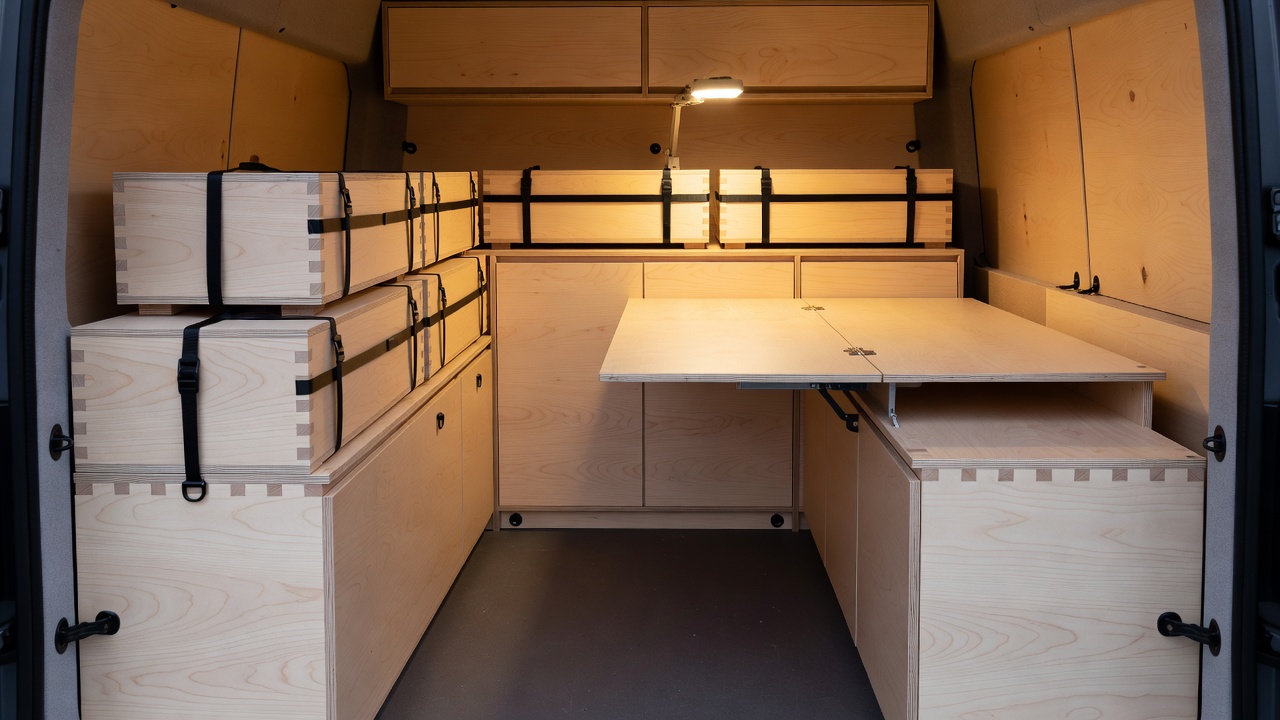
Before drawing a single cabinet, take the empty vehicle to a public weighbridge with a full fuel tank and the people who will travel in it. Subtract that figure from the plated gross vehicle mass (GVM, or GVWR in North America). The remainder is everything you are allowed to add: furniture, water, batteries, tools, food, clothes, recovery gear and spares. On a Toyota Land Cruiser 70 series, a Mercedes-Benz Sprinter 4x4 or an Iveco Daily 4x4, that margin can disappear surprisingly quickly once water tanks and a steel bumper go on.
Weigh each axle as well. A vehicle can be under its total limit while overloading the rear axle, which affects braking, steering and tyre life. Some regions allow formal GVM upgrades through approved suppliers and inspection; others do not. Treat any upgrade as an engineering and legal process, not a product you bolt on.
Write down a weight budget with categories and stick to it. Builders who track kilograms from the start rarely end up sending gear home from the first border.
Heavy items go low and between the axles: water tanks, house batteries, tool rolls and spare parts. Medium-weight items such as cooking kit and clothes can sit in drawers further back. The roof and the rear overhang take only light, bulky items, because weight up high raises the centre of gravity and weight behind the rear axle unloads the front wheels.
Keep everything heavy restrained so it cannot move in a collision or a rollover. A 20 kg toolbox becomes a serious hazard in a sudden stop if it is held only by a bungee cord.
Washboard roads such as the Gibb River Road or the Tanami Track will find every weak joint. Furniture that feels solid in a driveway can loosen within a few hundred kilometres. Use positive latches that cannot vibrate open, drawer slides rated for the loaded weight with a safety margin, and fixings that pass through the floor or into structural members with spreader plates. Self-tapping screws into thin sheet metal are not a structural fixing.
Lockable slides, lever latches and rubber liners. Keep the heaviest drawer nearest the axle.
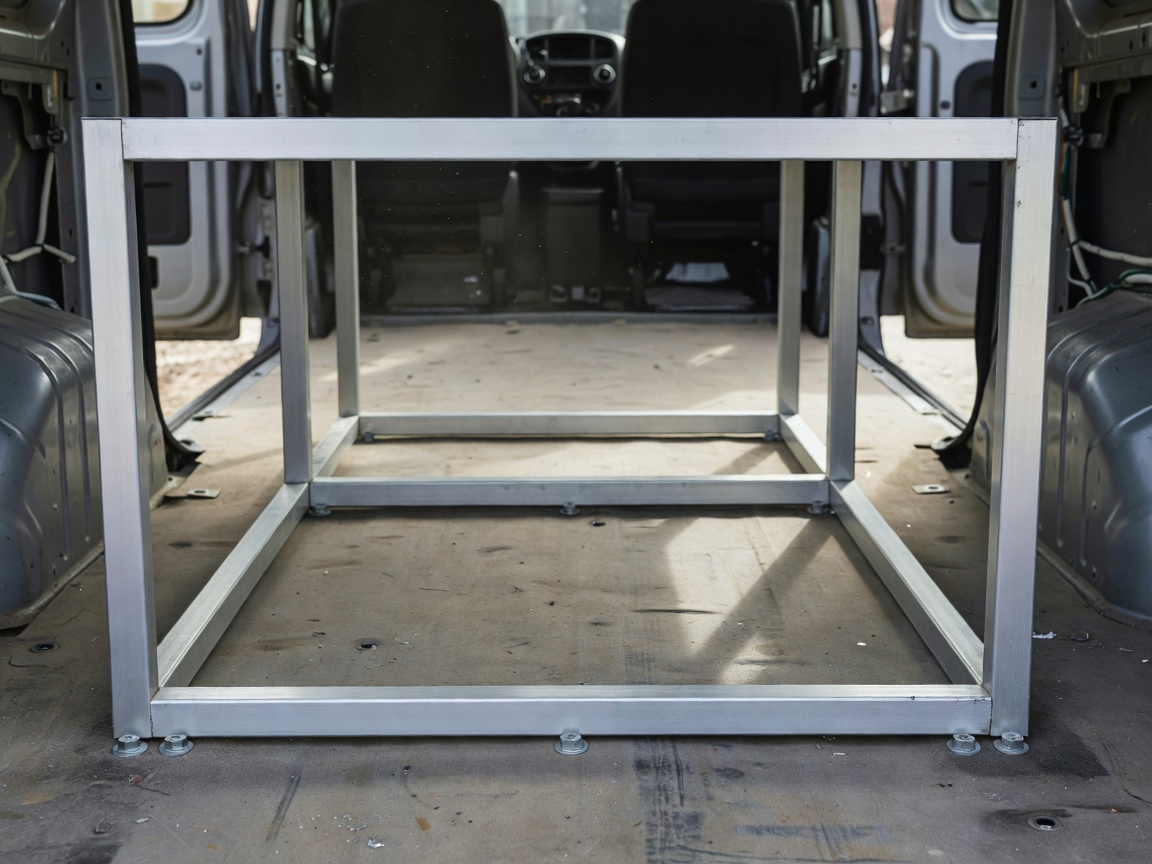
Birch ply is easy to repair; aluminium extrusion is light and adjustable; composite panels save weight but cost more to fix.
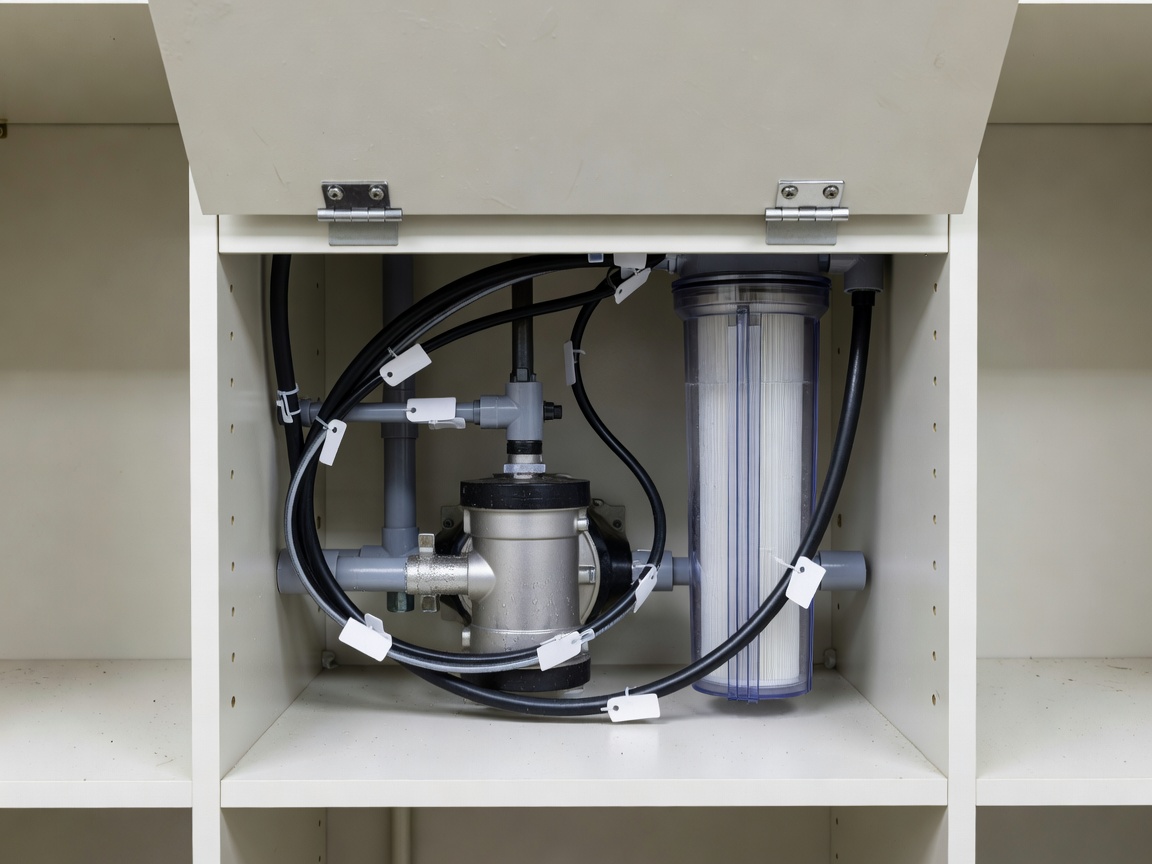
Every pump, fuse, valve and filter needs a removable panel. If you cannot reach it, you cannot fix it on the road.
Some jobs are not self-build territory in most countries. Cutting body panels or chassis members, fitting or moving seats and seat belts, LPG installations and mains electrics all carry legal and safety requirements. In the UK, LPG habitation work should be done by an engineer with the appropriate LPG competence on the Gas Safe Register, and mains installations in motor caravans fall under BS 7671 Section 721.
A good workshop will happily review a self-built layout. Paying for an hour of advice before you drill is far cheaper than a failed inspection.
Re-check all furniture fixings after the first 500 km and then monthly on rough roads. Inspect sealant around floor penetrations for cracking, check drawer slides for play, and look under the vehicle for corrosion at spreader plates. Expect to replace latches and slides more often than the brochure suggests.
Once the payload and storage are settled, the sleeping system must fit the space and the weight left. Read how to choose between rooftop tents, ground tents and interior beds.
Your privacy choices We use necessary cookies to run the site and, with your consent, optional ones to measure visits. You can change this at any time. More about cookies